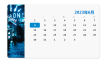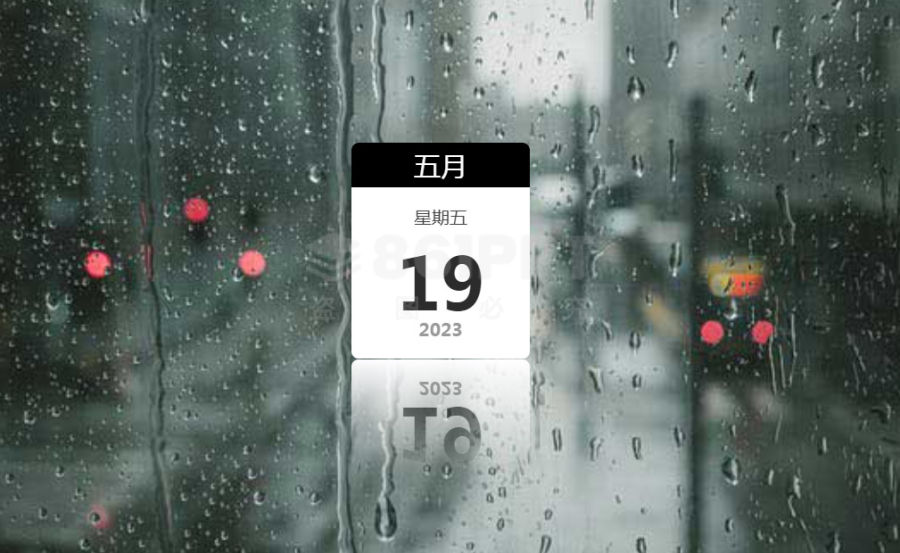
当今,UI设计是一个很热门的话题,许多人都在关注这方面的趋势和技术。在本文中,我们将介绍如何使用JS和CSS3来创建一个带有背景图片的日历表便签纸UI布局。
我们需要一个HTML文件。它应该包含一个div元素,它将包含我们的日历表便签纸。我们还需要三个span元素,分别用于显示年份、月份和日期。我们需要在head标签中添加一些CSS样式和JavaScript代码。
<!DOCTYPE html>
<html>
  <head>
    <title>Full Screen Calendar with Background Image and Sticky Notes UI Layout</title>
    <style>
      body {
        margin: 0;
        padding: 0;
        background-image: url('background.jpg');
        background-size: cover;
        font-family: Arial, sans-serif;
        color: #fff;
      }

      #calendar {
        display: flex;
        justify-content: center;
        align-items: center;
        height: 100vh;
      }

      .note {
        position: absolute;
        top: 50%;
        left: 50%;
        transform: translate(-50%, -50%);
        width: 300px;
        height: 400px;
        padding: 20px;
        background-color: rgba(0, 0, 0, 0.5);
        border-radius: 10px;
      }

      .note h2 {
        margin-top: 0;
        margin-bottom: 20px;
        text-align: center;
        font-size: 24px;
        text-transform: uppercase;
      }

      .note input[type="text"], .note textarea {
        display: block;
        width: 100%;
        margin-bottom: 20px;
        padding: 10px;
        border-radius: 5px;
        border: none;
        background-color: rgba(255, 255, 255, 0.9);
        color: #000;
        font-size: 18px;
        font-weight: bold;
      }

      .note textarea {
        height: 200px;
      }

      .note button {
        display: block;
        width: 100%;
        padding: 10px;
        background-color: #fff;
        border: none;
        border-radius: 5px;
        color: #000;
        font-size: 18px;
        font-weight: bold;
        cursor: pointer;
      }
    </style>
  </head>
  <body>
    <div id="calendar">
      <span id="year"></span>
      <span id="month"></span>
      <span id="date"></span>
      <div class="note">
        <h2>Sticky Note</h2>
        <input type="text" placeholder="Title">
        <textarea placeholder="Description"></textarea>
        <button>Save</button>
      </div>
    </div>

    <script>
      const date = new Date();

      const year = document.getElementById('year');
      const month = document.getElementById('month');
      const dateEl = document.getElementById('date');

      year.textContent = date.getFullYear();
      month.textContent = date.toLocaleString('default', { month: 'long' });
      dateEl.textContent = date.getDate();
    </script>
  </body>
</html>
我们有了一个基本的HTML文件,我们需要添加一些JS代码来使它运作起来。这些代码将帮助我们在页面上显示当前日期,并在点击“Save”按钮时保存便签。
const date = new Date();

const year = document.getElementById('year');
const month = document.getElementById('month');
const dateEl = document.getElementById('date');

year.textContent = date.getFullYear();
month.textContent = date.toLocaleString('default', { month: 'long' });
dateEl.textContent = date.getDate();

const saveBtn = document.querySelector('.note button');
saveBtn.addEventListener('click', () => {
  const title = document.querySelector('.note input[type="text"]').value;
  const description = document.querySelector('.note textarea').value;

  if (title && description) {
    alert(`Title: ${title}\nDescription: ${description}`);
  } else {
    alert('Please fill out all fields.');
  }
});
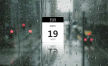
我们已经完成了一个简单但实用的日历表便签纸UI布局。通过使用JS和CSS3技术,我们可以自由地改变背景图像以适应不同的主题或季节。我们也可以添加更多的便签,以便用户在同一页面上保存多个笔记。
UI设计是一个无止境的领域,随着技术的不断发展,我们需要不断学习和更新知识。希望通过本文的介绍,您能够更好地理解如何使用JS和CSS3来创建一个美观实用的日历表便签纸UI布局。